Connect Gmail
Automatically import receipts from your Gmail inbox. No more manual uploads.
Setup
- 1Go to Import in the sidebar
- 2Click + Add Another next to Gmail
- 3Sign in with your Google account
- 4Grant read-only access to your email
- 5Your account appears under "Connected Accounts"
What Gets Imported
Mintline scans your inbox for:
- •PDF attachments that look like receipts
- •Order confirmation emails from known vendors
- •Invoice emails with receipt data
For each receipt found, Mintline extracts vendor, amount, date, and line items.
Sync Settings
Your connected account shows:
- •Last synced - When Mintline last checked for new emails
- •Receipts found - Count from last sync and all time
Click Import Receipts to trigger a manual sync.
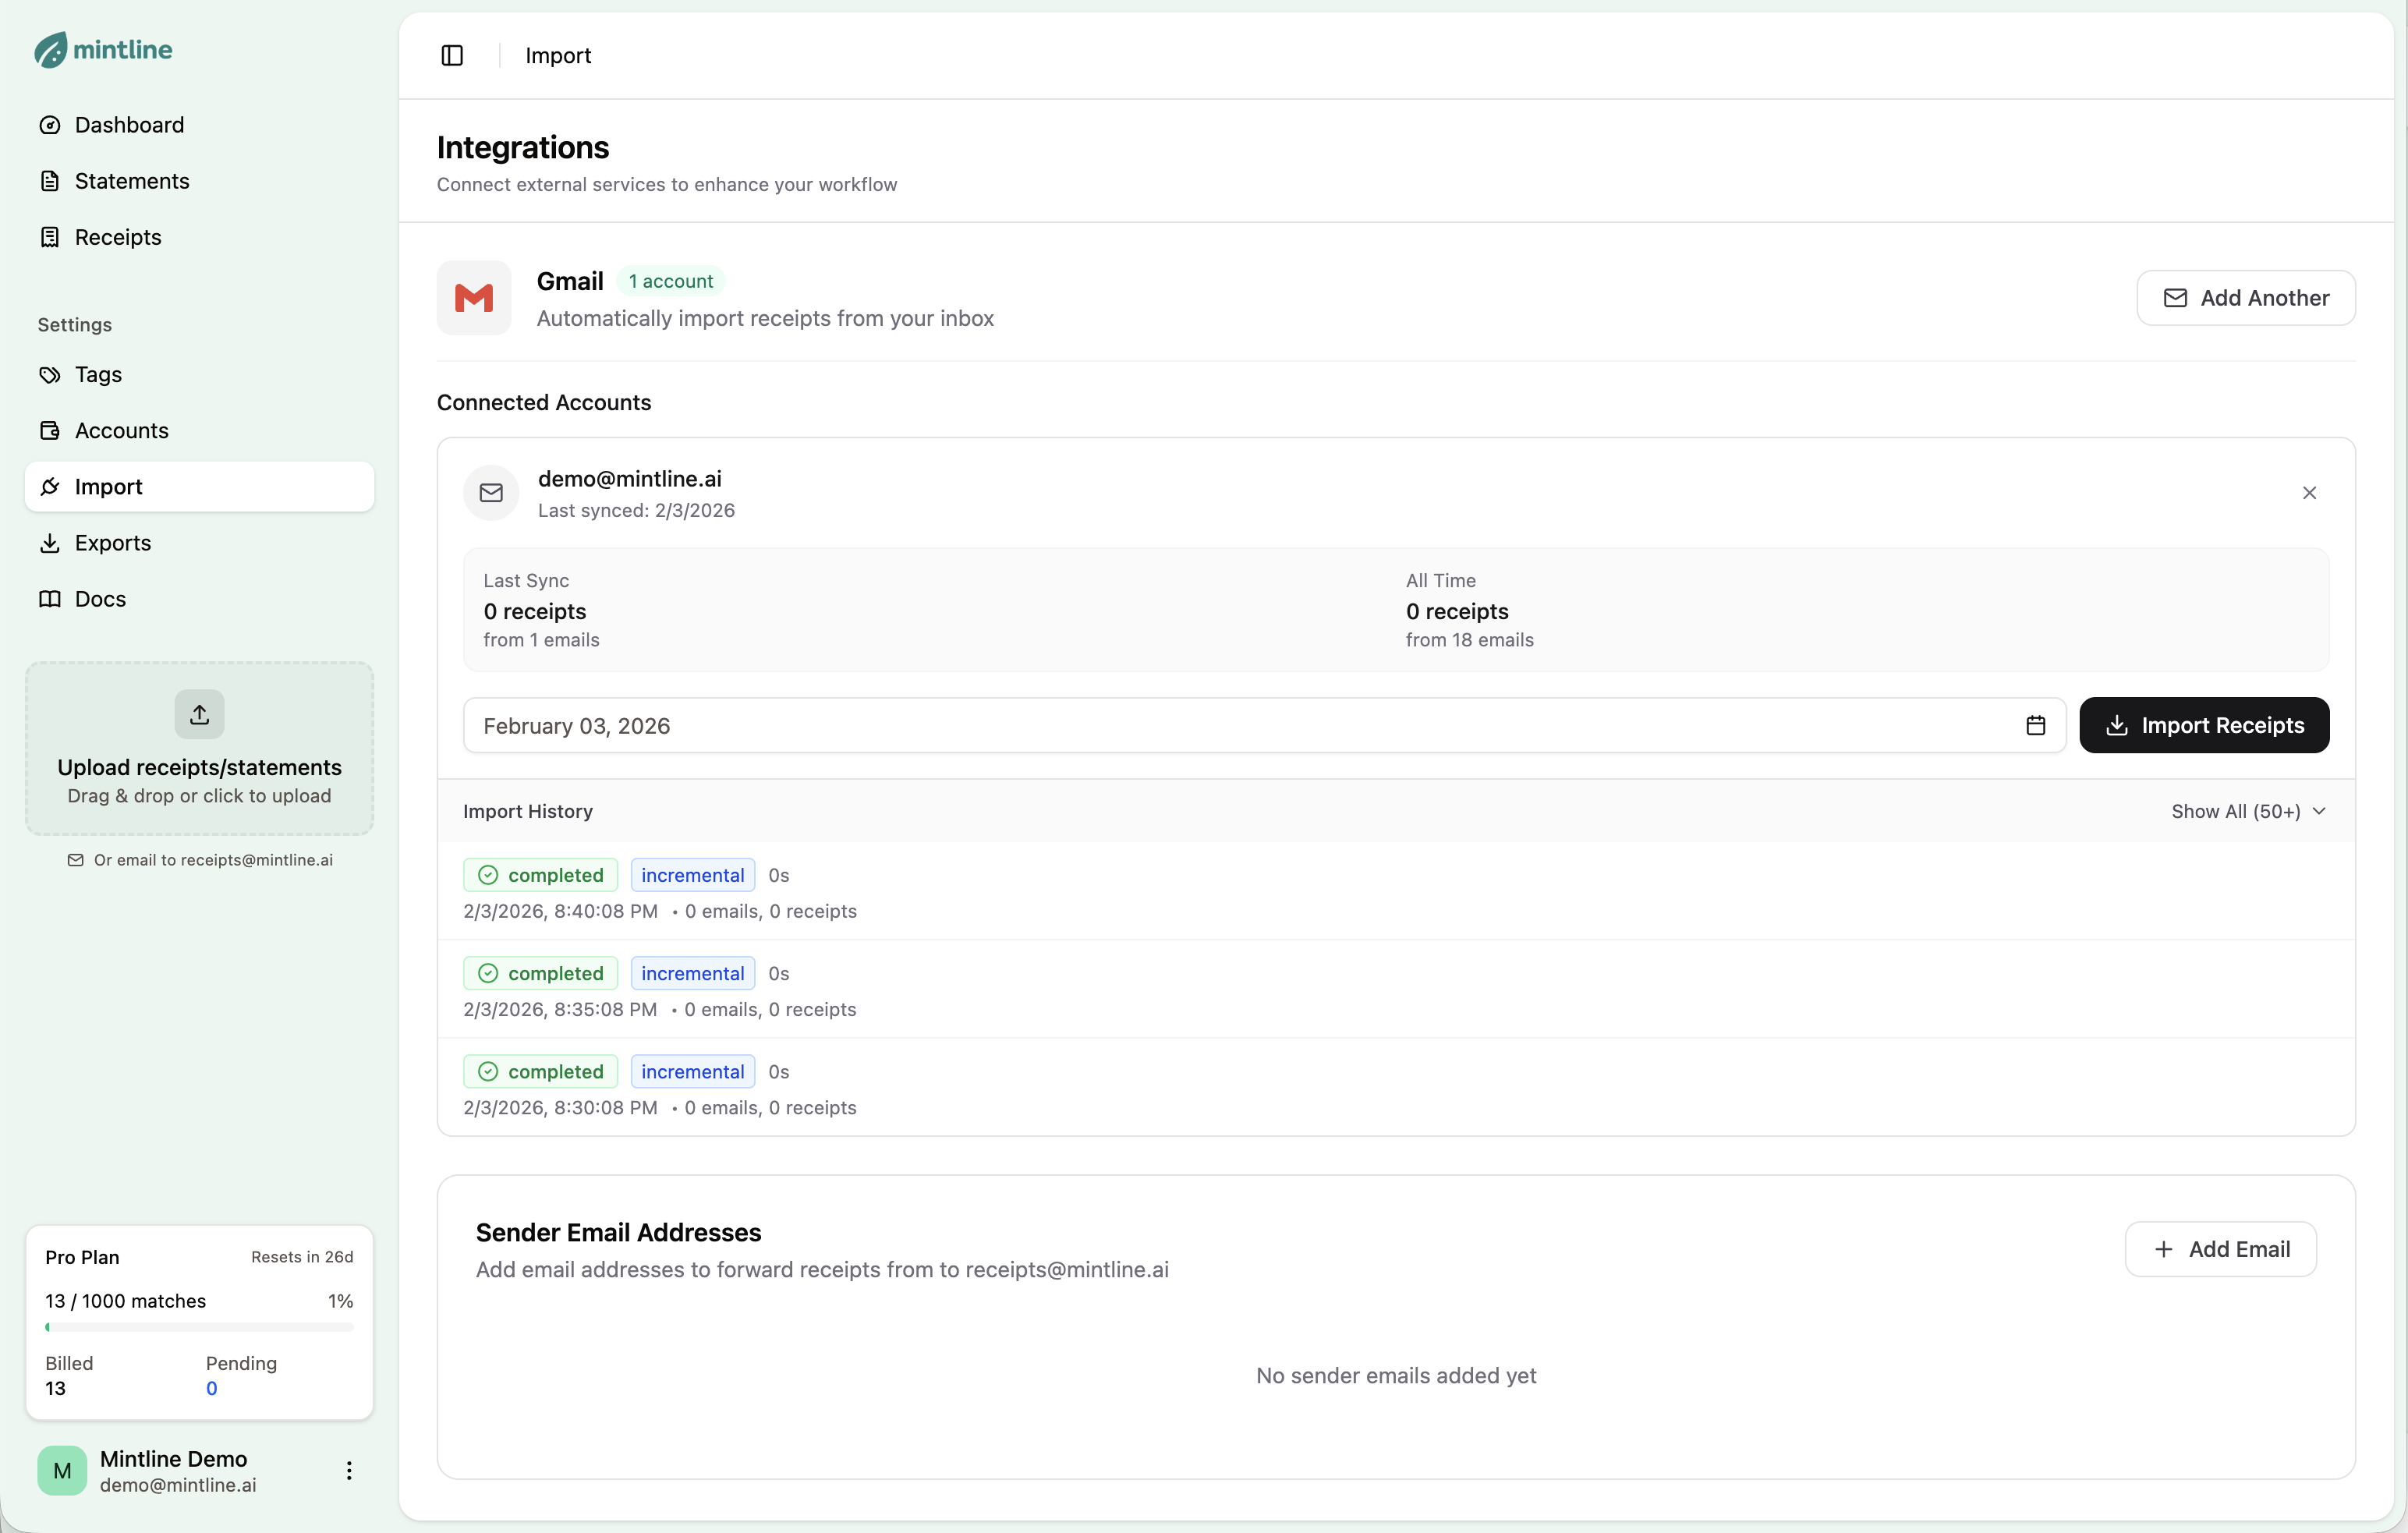
Gmail integration with connected accounts
Import History
View all past syncs with:
- •Timestamp
- •Type (incremental or full)
- •Results (emails scanned, receipts found)
Sender Whitelist
For extra security, whitelist specific sender addresses:
- 1. Scroll to Sender Email Addresses
- 2. Click + Add Email
- 3. Enter the address (e.g., orders@amazon.com)
Whitelisted senders can forward receipts to receipts@mintline.ai on your behalf.
Multiple Accounts
You can connect multiple Gmail accounts. Each syncs independently.
Privacy
Mintline only reads emails matching receipt patterns. Personal emails are never accessed or stored.
Revoke access anytime from Google Account Settings.